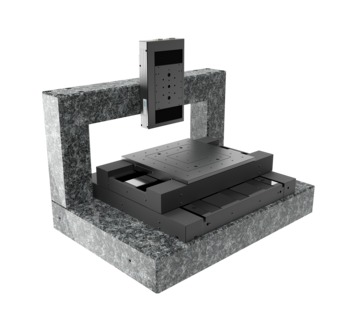
XYZ measuring system for variable and moving loads | XYZ ball screw, cross roller, DC motor, linear measuring system
Combinations of laboratory axes
Art.-ID 217999
High-precision measurements even with variable loads
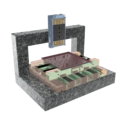
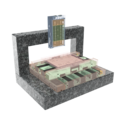
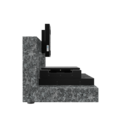
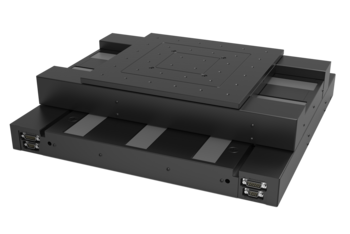
This XYZ positioning system is specially designed for high-precision measurements of variable loads and moving objects. If objects of different weight classes have to be measured one after the other, conventional measuring stages quickly reach their limits. This XYZ measuring system provides a solution to this problem.
Perfect flatness and straightness for samples up to 30 kg
|
|
|
|
|
Optionally configurable:
|
Individual extensions and customizations
Engineering services include the fitting of the systems to your structure and the desired controlls. Furthermore, we develop prototypes and like to adapt the systems to the environmental requirements of your application particle emission, radiation, temperature, precision special parts manufacturing, working height, collision protection, safety concept, compensation factor and filter, sensor mounting, brake, decoupling, special lubrication, special colors, holders, adapters, special motors with pharmaceutical approval, comprehensive documentation, test protocoll, llife cycle tests
Economic alternative to air bearing systems
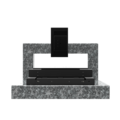
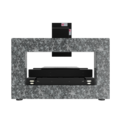
The 3 axes positioning system was developed especially for applications in measurement technology where pitch and yaw errors are disturbing. This is the case, for example, when measuring parts or capturing 3D profiles, even on high parts. The 3-axes positioning system works with highly stable rolling guidance elements and thus offers an economical, industrially robust alternative to much more sensitive air bearing systems. It also scores points when it comes to space requirements: despite the pyramid structure, the required "footprint" is identical to classic stages in conventional panel construction. A change to the new - economically and performance-wise more interesting - pyramid architecture is therefore easily possible.
Fields of application
part metrology, recording of 3D profiles, 3-print, surface inspection, inspection systems, tool measurement, coordinate measuring technology, micro machining or in optics
KT510 | X | Y | Z | |
[mm; deg] | 200 | 200 | 100 | |
Repeatability unidirectional | [µm; deg] | ± 0.3 | ± 0.3 | ± 0.3 |
Repeatability bidirectional | [µm; deg] | ± 0.4 | ± 0.4 | ± 0.4 |
[mm/s; deg/s] | 20 | 20 | 30 | |
Max. Load | [N] | 45 | 45 | 150 |
Motor |
| |||
| Drive | ||||
Feedback |
Used Standard Components
PMT160-DC
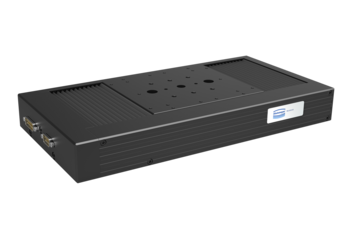
KT510-SM
Are you looking for a technical solution for your application?
Get your first 3D Design in a few days:

Katja Weißbach
Consulting
T +49 351 88585-64
E-Mail

Ronald Schulze
Consulting, Project Management & Engineering
T +49 351 88585-67
E-Mail

Francisco Samuel
Consulting &
Project Management
T +49 351 88585-85
E-Mail

Elger Matthes
Consulting, Concepts, Innovation & Engineering
T +49 351 88585-82
E-Mail
Our references
